What Happens During Countertop Templating and Installation
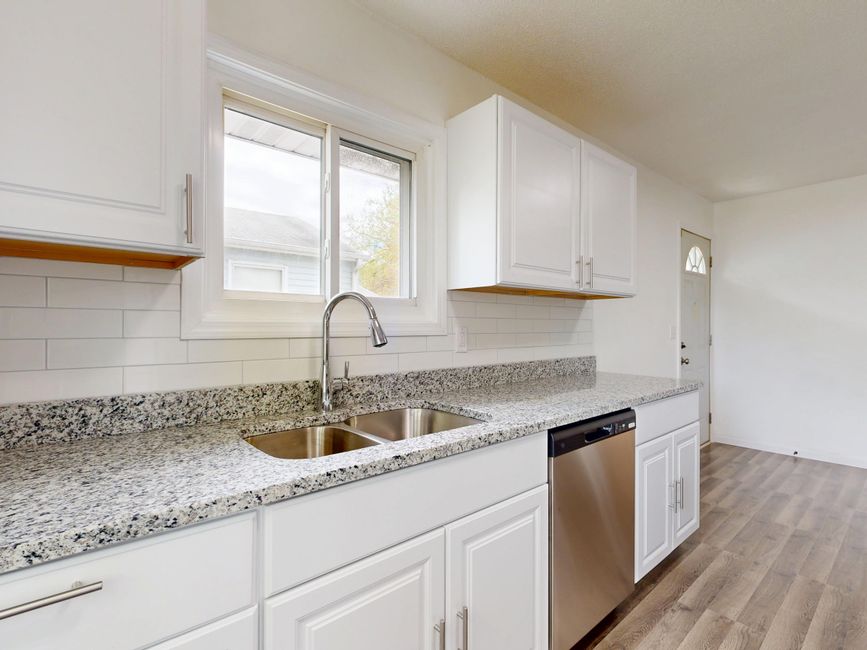
Walk the kitchen once with a pencil and note every cabinet run, sink, and appliance gap before anything gets cut. A countertop job in Greenville, SC moves through templating, fabrication, and install, and the breakdown sitting on countertops greenville backyard barter lists them in order. Each step depends on the one before it, so the sequence matters more than the stone.
Templating the cabinets
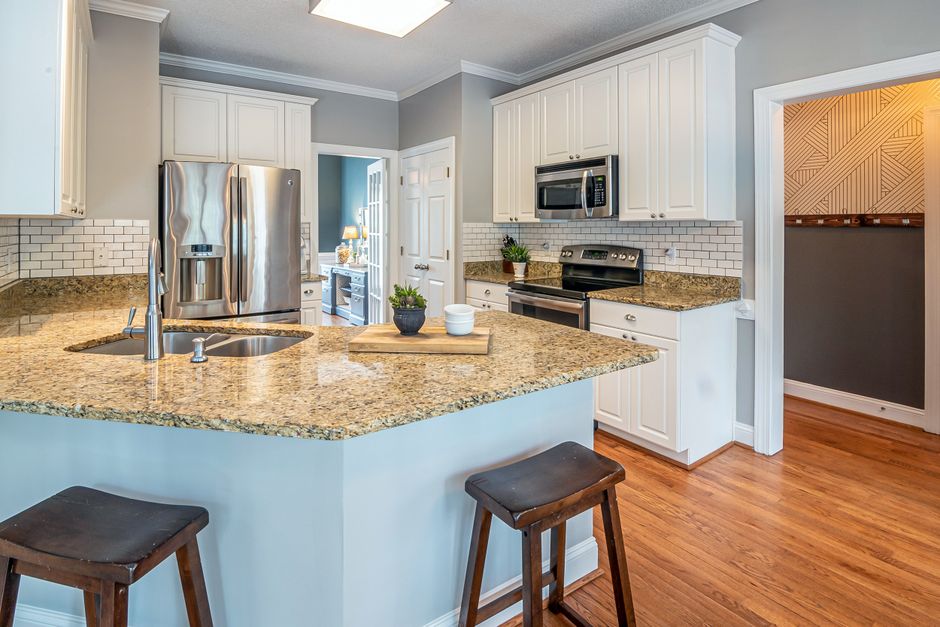
Templating records the exact cabinet layout, either with physical templates or with a digital laser measuring system. Walls are rarely straight, so the template picks up every bow and corner that a tape measure misses. The cabinets need to be in place before this step. The template also marks the sink cutout, the cooktop opening, and the overhang at each open end. The edge profile gets decided here, because it changes how much stone is needed.
Laying the template over the slab
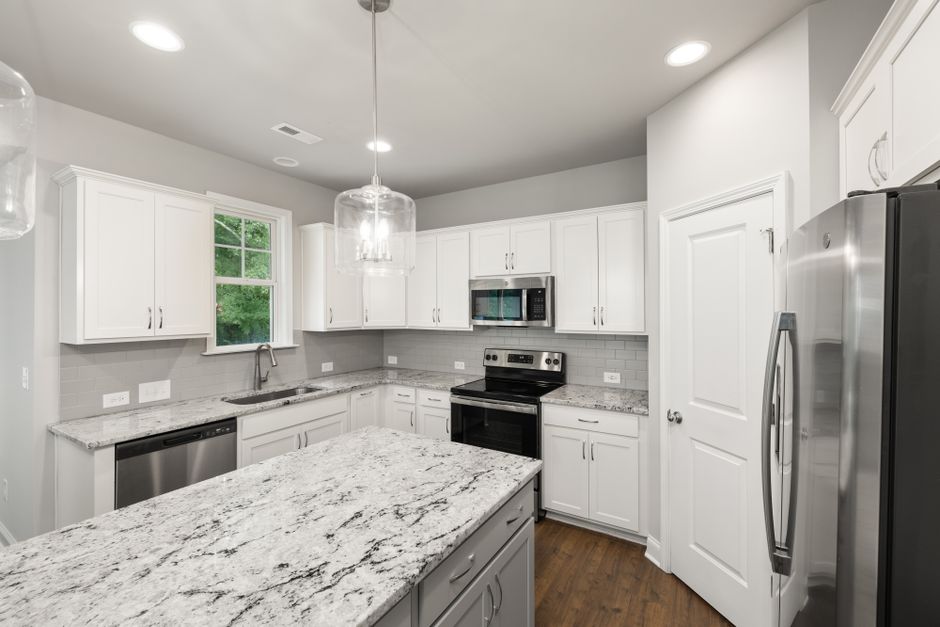
At the shop, the fabricator lays the template over the slab before any cut is made. This is where seam placement gets settled. Long runs and L corners often need a seam, and the best spot is usually away from the sink and the cooktop. The same step positions veining and pattern. On marble, quartzite, and a busy granite, the grain should flow across a seam instead of breaking at it. A small job like a vanity can often come from a remnant.
Cutting the stone
Granite, quartz, and porcelain are cut with water fed saws or computer controlled routers. The water cools the tool and helps control dust. Cutouts get rounded inside corners, since a sharp corner is where a crack starts later.
Shaping and polishing the edges
Edge profiles are shaped first and then polished in progressively finer steps to bring up the finish. An eased edge is the quickest, a bullnose takes more passes, and a waterfall edge needs mitered pieces that must be matched by eye. Skipping a polishing step shows up as dull patches under kitchen lighting.
Setting, seaming, and the sink
At install, the tops are set on the cabinets and shimmed where needed to sit level. They are bonded down with an adhesive such as silicone. Seams are joined with a color matched adhesive, often epoxy, while seam setting tools pull the two pieces tight and flush. An undermount sink is attached to the underside of the stone with clips, adhesive, or both before the plumbing is reconnected. Installation does not always happen the same day as templating, since the slab has to be cut and finished first.
Curing before use
Adhesives need time to cure. Heavy objects and hard use should wait until the installer says the top is ready. Setting a loaded pot or an appliance on a fresh seam can shift the joint before the epoxy has hardened. A day of patience protects a job that took weeks to build.